Operation
Using the Control Station Console
The control station console is an easy to use program to enable and disable the VMX. To start using the control station console open the Control Station Console.exe on your desktop or start menu.
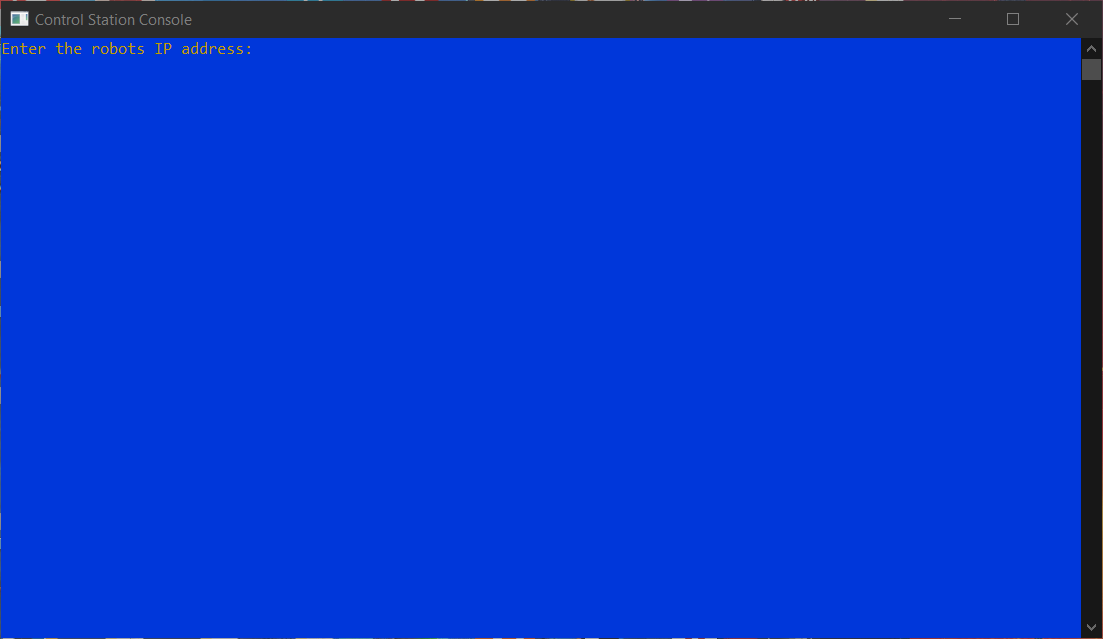
The console will ask you to enter your robots IP address. If your team number is 1234 then using the format 10.xx.xx.2 your IP address will be 10.12.34.2. If you have an ethernet connection to the robot the IP address will be 172.22.11.2.
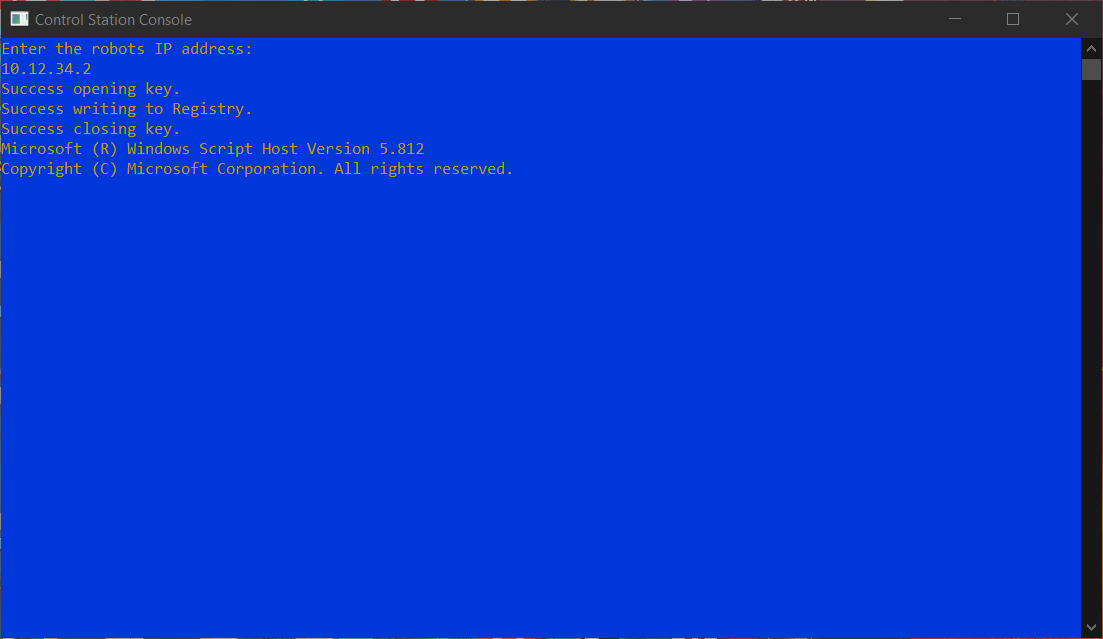
The console will then connect the Shuffleboard key to your IP address and launch Shuffleboard for you.
Control Station Console Main Screen
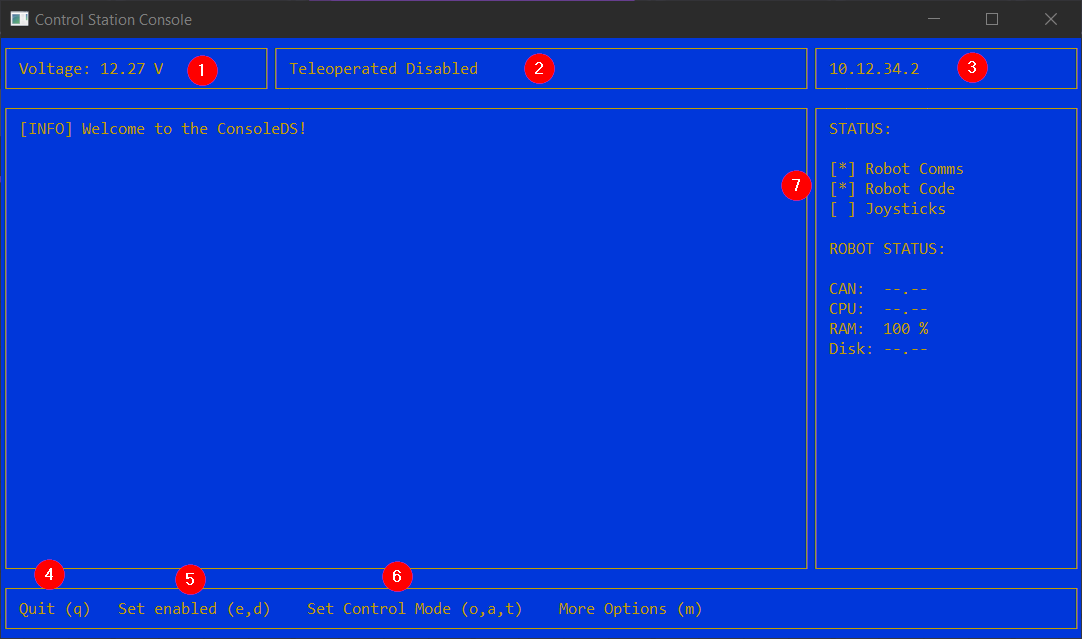
Battery Voltage Indicator - This will tell you the current voltage of the battery. When the battery starts to approach 11.5V it is time to replace with a charged battery.
Robot Current State - This is the state indicator for the robot. As pictured the robot is in Teleoperated and is Disabled. When the robot is enabled you will see a
Teleoperated Enabledstatus instead.IP Address you punched in and what is being used.
Quit (q) - press
qon the keyboard to quit.Set enabled (e,d) - press
eto enable the robot and pressdto disable the robot.Set Control Mode (o,a,t) - Sets the control mode, currently as pictured the console is in Teleoperated mode.
o is Teleoperated
a is Autonomous
t is Test
Status Indicators - These are some flags to show you that connections are present. There are three flags
Robot Comms,Robot Code, andJoysticks.Robot Comms will indicate that the console is talking with the robot.
Robot Code will indicate that there is valid code running on the robot.
Joysticks will indicate that there is a joystick plugged in.